Hey there, cannabis newcomers and seasoned enthusiasts! Ready to elevate your smoking experience? If you're just stepping into the world of weed, you'll quickly discover that an herb grinder is your new best friend.
This simple, yet powerful, gadget isn't just about breaking down your herb; it's about unlocking better flavor, maximizing potency, and making every session smoother and more enjoyable.
In this beginner's guide, we're going to grind through everything you need to know about using an herb grinder the right way. Whether you're rolling a joint, packing a bowl, or prepping for a vape session, we'll help you get that perfect grind every single time.
Prefer a video? Easy! Watch our quick video on how to use our herb grinder.
What Exactly Is an Herb Grinder?
At its core, an herb grinder is a device designed to break your herbs into smaller, more manageable pieces. Why does this matter? Well, for starters, it ensures a smoother, more even burn, whether you're smoking or vaping. More importantly, grinding helps distribute the good stuff those potent cannabinoids and flavorful terpenes evenly throughout your herb. This means you'll get more potency and a better taste with every hit!
Different Grinders for Different Strokes
Just like there are many ways to enjoy your herb, there are also different types of grinders to suit your needs. Here are the most common ones you'll encounter:
- 2 piece grinders: These are your basic, budget friendly options. They simply have a lid and a grinding chamber.
- 3 piece grinders: A step up, these add a collection chamber below the grinding area, keeping things nice and tidy.
- 4 piece grinders: The Cadillac of grinders, these include a pollen catcher at the very bottom. This is where those super potent, powdery trichomes (often called kief) gather, giving you an extra kick.
- Electric grinders: If you're all about speed and effortlessness, electric grinders are for you. Just be prepared for a slightly higher price tag and a bit more cleaning.
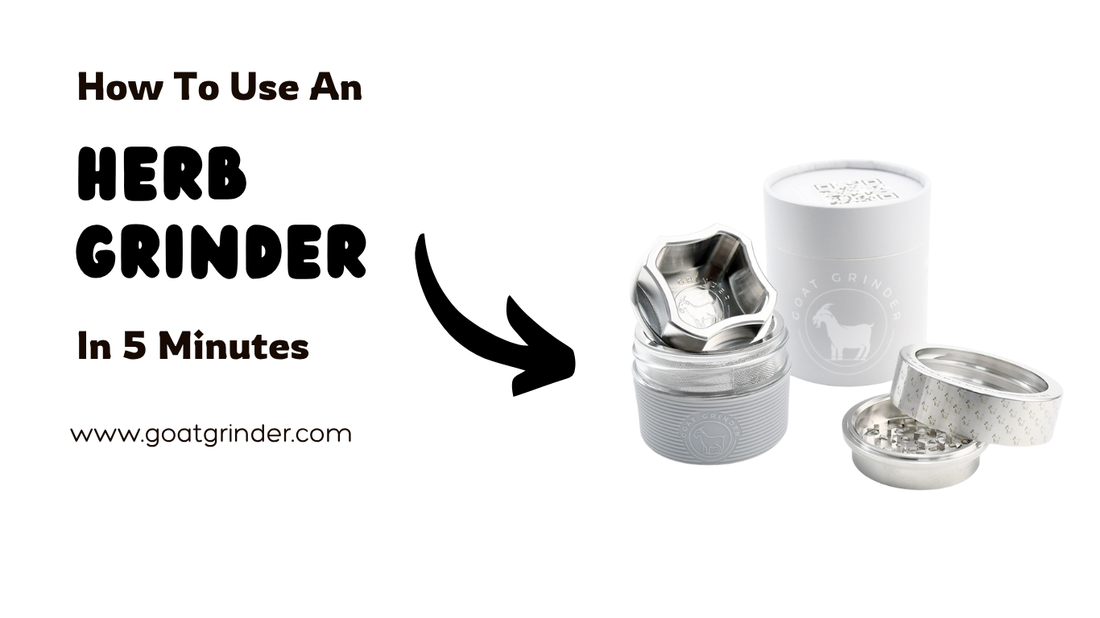
- GOAT GRINDER: Our personal favorite! This grinder is all about effortless, fast grinding that never gets stuck. It's moderately priced and a dream come true for anyone who loves collecting pollen.
Pro Tip: If collecting pollen is your jam, the GOAT GRINDER is truly your best friend.
Grinder Anatomy 101: Know Your Parts
To get the most out of your grinder, it helps to understand what each part does:
- Pressure band: This crucial band keeps everything held together securely and prevents the bottom grinder from slipping while you're grinding.
- Top and bottom Grinder chamber: This is where all the magic happens! Your herb goes in here to be broken down.
- 3D Sifter Basket: This clever basket not only catches and holds your perfectly ground herb but also sifts that precious pollen down into the collection jar.
- 4oz Mason Jar: This is your storage hub! Everything is collected and stored within this jar, and the best part is you can easily swap it out with other regular mouth mason jars.
First Time Use? Prep Your Grinder!
Before you dive into your first grinding session, a little prep goes a long way. This ensures you're not getting any unwanted factory residue in your smoke.
- Take it apart: Disassemble your new grinder into all its individual pieces.
- Wash thoroughly: Give each piece a good wash with warm, soapy water.
- Rinse and dry: Rinse everything thoroughly to remove all soap residue, then make sure each piece is completely dry.
- Reassemble: Put it all back together, and you're ready to go!
How to Load Your GOAT GRINDER for the Perfect Grind
The GOAT GRINDER makes grinding a breeze. Here's how to get that perfect consistency every time:
- Remove the top: Start by taking off the Pressure Band and the Top Grinder.
- Secure the bottom: Set the Top Grinder down. Place the Pressure Band back on the jar to hold the bottom grinder firmly in place.
- Load your herb: Place your whole herbs into the bottom grinder chamber. You can de stem them if you prefer, but it's not strictly necessary with the GOAT GRINDER.
- Twist and grind: Place the Top Grinder back on. Now, simply push and twist both halves together, rotating back and forth a few times.
- Keep twisting: Continue twisting until you feel the resistance fade. This usually means your herb is fully broken down. If you want to check or get out any chunky grinds, you can also take it apart earlier and tap/brush them out.
- Access your herb: Remove the Pressure Band and the bottom grinder.
- Scoop it out: Your beautifully ground herbs will be in the 3D Sifter Basket, and that potent pollen will have fallen into the jar below. Use the white brush your GOAT GRINDER came with, or even your fingers, to scoop out your herb.
- Store it: Reassemble your grinder to store your freshly ground herbs for later.
FAQs: Your Grinding Questions Answered!
How often should I clean my grinder?
It's a good idea to brush out your grinder after every few uses. For a deeper clean, aim for every couple of weeks, or whenever you notice it starting to get a bit sticky or "gummed up." You can follow our article on "How To Clean Your Herb Grinder".
Why isn’t my grinder turning smoothly?
You are not using it right. Make sure you are using the top grinder freely. The video attached at the top of the page demonstrates the proper way to use it.
Final Thoughts
Using an herb grinder might seem like a small step, but it makes a big difference in your cannabis experience. With the right grind, you’ll get smoother hits, better taste, and more bang for your bud.
Whether you’re a first timer or a seasoned enthusiast, a clean, quality grinder is a must have. Take care of it, and it’ll return the favor every time you light up.
Want to upgrade your gear? Check out our curated collection of premium grinders.

